Landscape Photography Rules of Thumb |
|
Final reminder: Only 1 day left in the deal on The Ultimate Landscape Photography Course
Composition is considered the main key to a beautiful and high quality landscape image. Be aware that shooting landscape will demand a very difficult way of working as opposed to photographing people. It is usually taken with a camera mounted on a tripod. Also, more attention is being given to the aperture in order to ensure that the image will be sharp from front to back.  “Moraine Lake” captured by Jochen Lambrechts (Click image to see more from Lambrechts.) “Moraine Lake” captured by Jochen Lambrechts (Click image to see more from Lambrechts.)General Landscape Photography Tips1. If you are confronted with a beautiful scene, isolate the elements that say something about the environment and complement the panoramic view. Avoid capturing everything in your composition. “Morning Mist in Glen Etive” captured by Dave Murray (Click image to see more from Murray.) “Morning Mist in Glen Etive” captured by Dave Murray (Click image to see more from Murray.) “Cunningham Dawn” captured by Robert Carl (Click image to see more from Carl.) “Cunningham Dawn” captured by Robert Carl (Click image to see more from Carl.)4. Choose your lens wisely. Wide-angle lenses increase the foreground and sky content, make the subjects smaller, and exaggerate sweeping lines. On the other hand, telephoto lenses allow you to flatten the perspective, which then makes the foreground and background elements appear closer to one another. What you are focusing on will become larger.  “High and Dry” captured by Sajid Ahmed (Click image to see more from Ahmed.) “High and Dry” captured by Sajid Ahmed (Click image to see more from Ahmed.)6. Horizons must be straight. But if you can’t make it straight, consider eliminating the horizon altogether by zooming in.  “Yellowstone National Park” captured by Ivan Pena (Click image to see more from Pena.) “Yellowstone National Park” captured by Ivan Pena (Click image to see more from Pena.)Advice for Specific Landscape SubjectsForests. Dark forests may be one of the most difficult landscapes to photograph. Usually, the light is too low which may cause automatic flashes to fire. The best time to take pictures in a forest is after it has rained or perhaps in light drizzle. Cloudy skies guarantee even lighting, and the water on the leaves adds life and emphasizes the color. “Forest Mist” captured by Susan (Click image to see more from Susan.) “Forest Mist” captured by Susan (Click image to see more from Susan.) “Blythedale Beach, KZN North Coast, South Africa” captured by Alan Nixon (Click image to see more from Nixon.) “Blythedale Beach, KZN North Coast, South Africa” captured by Alan Nixon (Click image to see more from Nixon.) “Foss” captured by Ævar Guðmundsson (Click image to see more from Guðmundsson.) “Foss” captured by Ævar Guðmundsson (Click image to see more from Guðmundsson.)This article was written by Amanda Williams from cherishartz.com. Photographic artistry captured with passion. For Further Training, Landscape Course Deal Ending Soon:No matter what weather you encounter or camera equipment you own, this new in-depth course is designed to teach you everything you need to know to capture amazing landscape photographs whenever the opportunity arises. 36 videos, 9 case studies, RAW and layered files and more. We were able to arrange a 33% discount for PictureCorrect readers which expires in 1 day. |
|
Are
your lenses so dirty you need to do color correction every time you
take a shot? Do you change your lenses so often that the noise in your
photos is due exclusively to sensor dust? Ever wonder how to return
your camera to an out-of-the-box shine before reselling it on Ebay?
Well, look no further! The camera cleaning tutorial below was designed
to provide the definitive solution to all your camera-cleaning needs:
(for those of you reading this by email, the video tutorial can be seen here) Pavlis’ cleaning method* will ensure that your camera and lens come out squeaky clean every single time. It will also save you a fortune on camera cleaning kits! While you’re at it, don’t forget:
 Any other tips you can think of that will make sure you never have to clean your camera or lens again? *Please be advised, this video was created solely to make photographers cringe. Click here to see the correct way to clean your DSLR camera and lens. Also, no cameras or lenses were harmed in the making of this film–they were broken to begin with. |
|
Beautiful
sunsets can be found all around world and there’s certainly no shortage
of photographs of them on the internet. They seem to be one of the few
things that we never tire of seeing. Take for example, the photo below,
which was taken by Agostinho Fernandes.
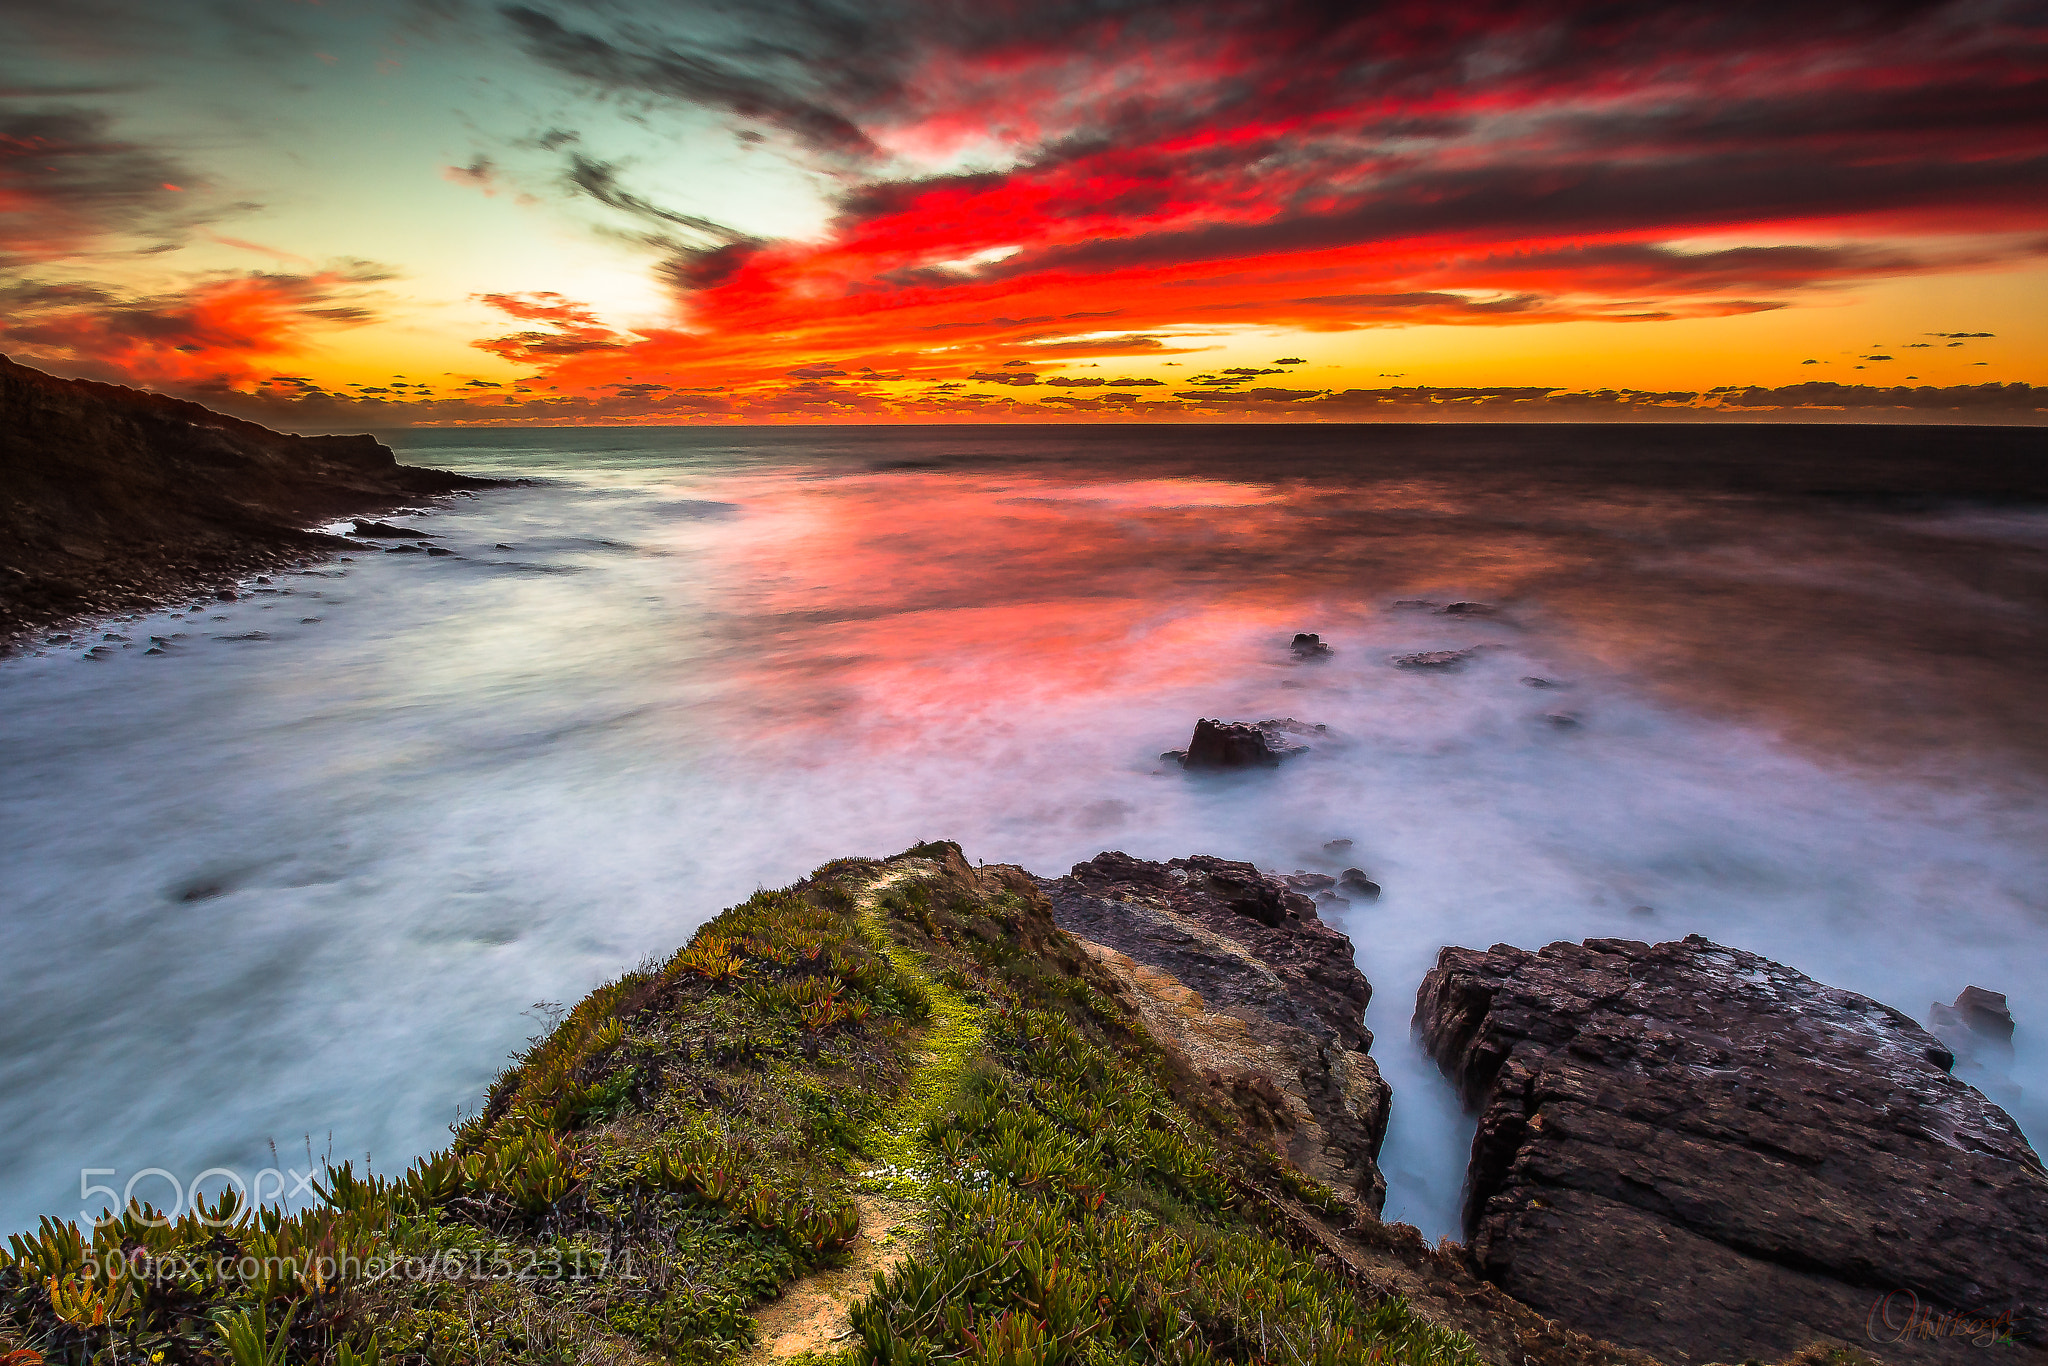 “Liquid Vs Solid” (Via 500px. Click image to see full size.) “Liquid Vs Solid” (Via 500px. Click image to see full size.) |
|
The
zoom hyperlapse is like a timelapse on steroids. It’s a visually
engaging stop-motion timelapse technique that gives us an accelerated
view of real time, with an added 3D movement effect. It differs from
timelapse in that the photographs are taken of a single vantage point
over a long distance, rather than a short dolly movement. The technical
jargon may sound confusing, but creating a hyperlapse is not all that
complicated. In this tutorial, Eric Stemen shows you how easy it is to capture your very own zoom hyperlapse with a simple DLSR:
How To Create a Zoom Hyperlapse A crosshairs overlay will help with aligning your shots. A crosshairs overlay will help with aligning your shots.
Zoom Hyperlapse Equipment Here’s a list of the gear Stemen used to make the video:
“It’s a really unique effect that you can’t see normally with your own eyes.” |
|
Posted: 11 Aug 2014 11:32 AM PDT
Here is another lesson from Jay & Varina Patel, the producers of the Ultimate Landscape Photography Course.
On a bright, sunny day, it’s easy to freeze moving water with nothing
more than a fast shutter speed. But high speed photography on overcast
days takes extra attention to detail. In the video below, Varina Patel
explains her techniques for capturing the ocean spray from the rocky
cliffs above Fisherman Bay in Australia:
(for those of you reading this by email, the video can be seen here) Tips for Photographing Ocean Waves Ocean Spray Photographed with a Fast Shutter Speed Ocean Spray Photographed with a Fast Shutter Speed
 High Speed Photography of Waves Crashing on Cliffs High Speed Photography of Waves Crashing on Cliffs“This video is one that we shot on a heavily overcast day, when the sky wasn’t very pretty for wide-angle photography. Our film guys— Johny Spencer and Brent Mail—followed us out onto the cliffs, where we photographed the waves crashing against the rocks. Nature photography isn’t just wide-angle lenses, rainbows and sunbeams. Sometimes, you have to pull out a lens you don’t use very often and get creative with the light and the location you have to work with.“ |

No comments:
Post a Comment